How to Build a Gaming PC (2025) – Complete Step-by-Step Guide
If you’ve wondered how to build a gaming PC, this guide walks you through every step—from picking compatible parts to the final Windows tweaks. We’ll cover budget planning, component choices, assembly, BIOS setup, drivers, airflow, and troubleshooting so your first boot is smooth and your frame rates are great.

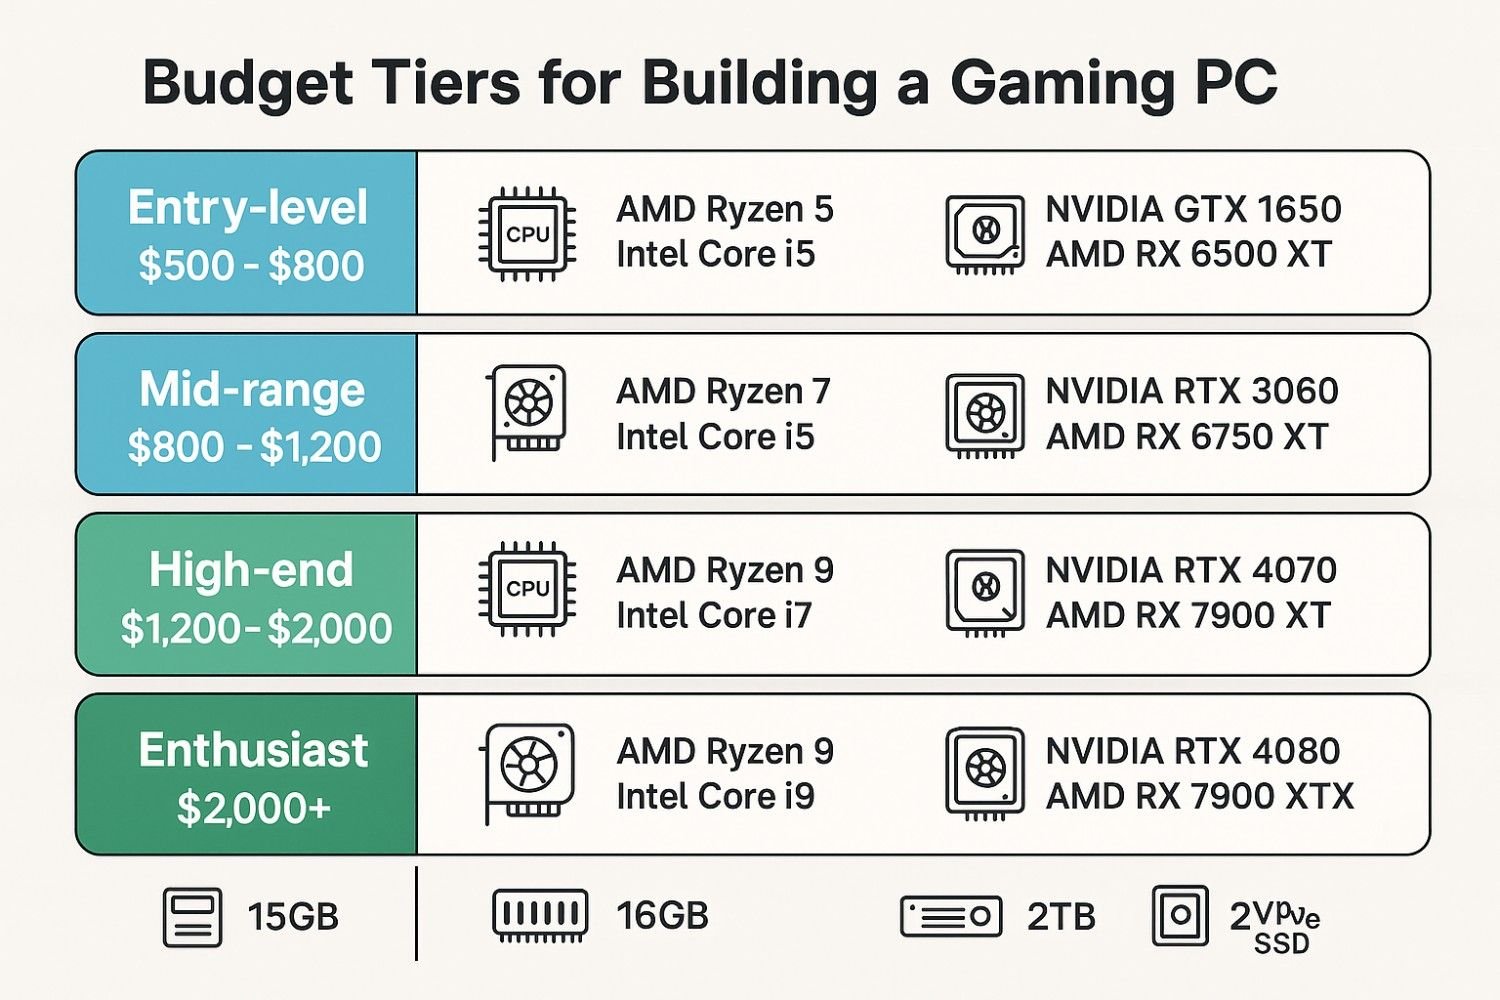
Before You Start: Budget, Use-Case & Compatibility
First, decide what you’ll play and at which resolution/refresh rate. Esports at 1080p 240Hz? AAA at 1440p ultra? Or 4K with ray tracing? Your targets determine the right CPU/GPU balance and, therefore, the budget.
- 1080p/144Hz: Focus on a strong mid-range GPU and 6–8 core CPU.
- 1440p/144–165Hz: Aim for an upper-mid to high-end GPU and fast 8–14 core CPU.
- 4K or heavy creation: Prioritise a flagship GPU, high-core CPU, and excellent cooling.
Next, check basic compatibility: CPU socket vs motherboard, RAM type (DDR4/DDR5), case size (ITX/mATX/ATX), GPU length and cooler height, plus PSU wattage and connector support. This prevents costly returns later.
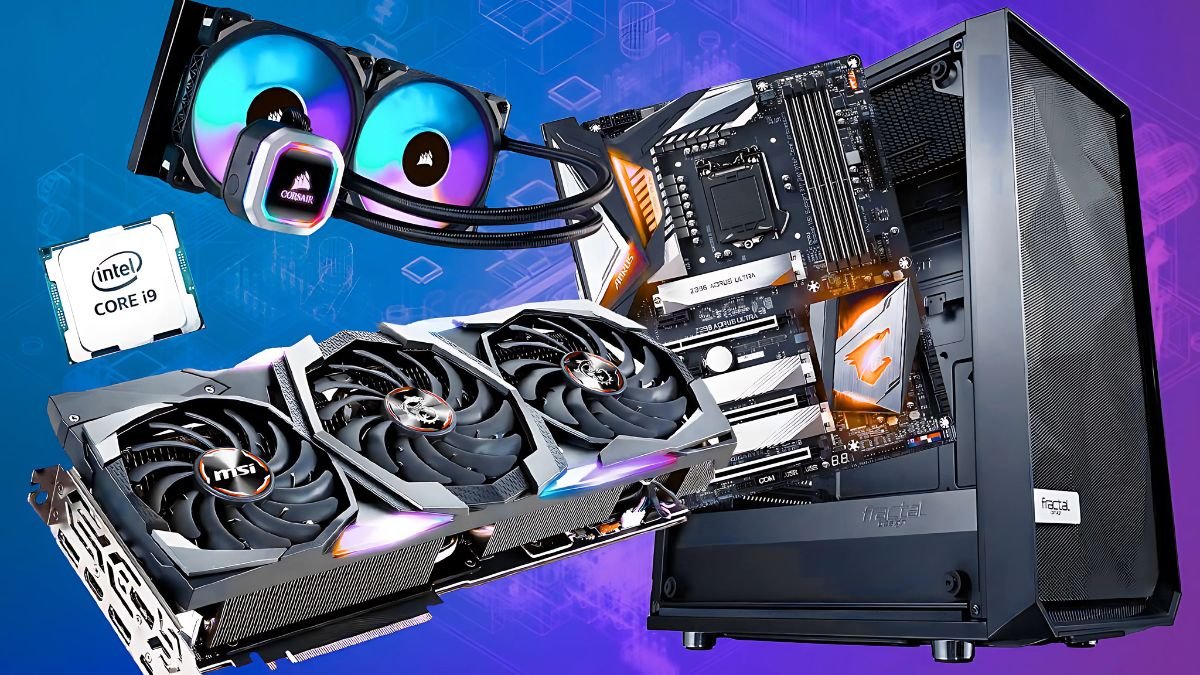
Core Parts You’ll Need
To learn how to build a gaming PC, you’ll want the full shopping list:
- CPU: Gaming favours fast single-thread performance; streaming/editing benefit from more cores.
- Motherboard: Choose the right socket/chipset; check VRM quality, M.2 slots, and rear I/O.
- GPU (Graphics Card): The biggest impact on FPS. Ensure case clearance and PSU capacity/connectors.
- RAM: 16GB is the minimum; 32GB is ideal in 2025. Match speed to platform (e.g., DDR5-6000).
- Storage: 1TB NVMe for OS + games is a great start; add a second NVMe/SATA SSD for libraries.
- PSU: Pick an 80+ Bronze/Gold unit with enough wattage + headroom, and the right PCIe/12VHPWR leads.
- Case: Prioritise airflow (mesh front), dust filters, GPU length support, and cable space.
- Cooling: A decent tower air cooler or 240–360mm AIO depending on CPU heat & case support.
- OS & Peripherals: Windows 11, plus monitor, keyboard, mouse, and headset.
Tools, Prep & ESD Safety
- Phillips screwdriver (magnetic tip helps)
- Isopropyl alcohol + lint-free cloth (for thermal paste redo)
- Zip ties/Velcro straps for cable management
- Thermal paste (if cooler doesn’t include pre-applied)
- Small tray for screws
- ESD tip: ground yourself on the case or use an antistatic strap
Power down, unplug, and work on a clean, non-conductive surface. Additionally, keep motherboard and case manuals nearby.
How to Build a Gaming PC: Step-by-Step Assembly
- Prep the Case: Remove both side panels, take out accessory boxes, and pre-route front-panel cables.
- CPU Install: Open the socket latch, align the triangle, place the CPU gently, then latch.
- RAM Install: Use the recommended slots (usually A2/B2). Press evenly until the latches click.
- M.2 SSD: Insert at ~30°, push down, and secure with the tiny screw. Add heatsink if included.
- Mount the Cooler: For air: backplate + standoffs + paste (pea or thin line) + heatsink; tighten evenly. For AIO: install radiator (top/front), route pump to CPU header, fans to CPU_FAN/PUMP headers.
- Motherboard into Case: Install I/O shield (if separate), align with standoffs, and screw in gently.
- Power Supply: Fan facing ventilation; connect 24-pin ATX, 8-pin EPS, and GPU power leads (pre-route).
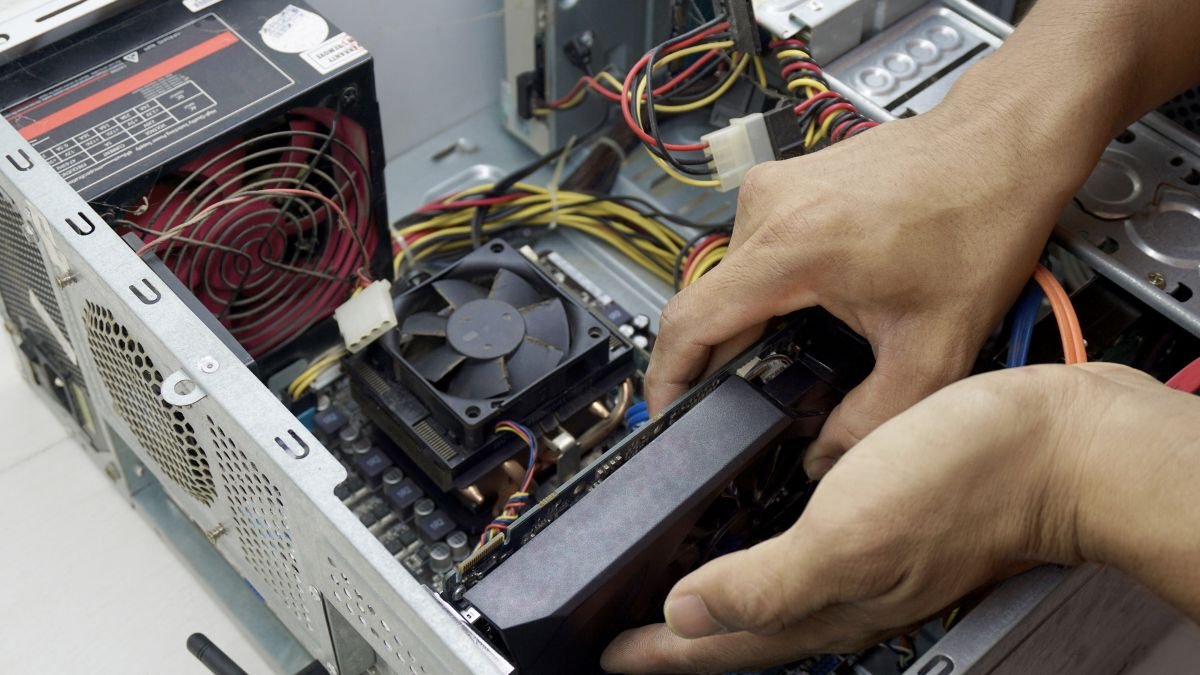
- GPU Install: Remove PCIe slot covers, insert GPU into the top x16 slot, screw bracket, connect PCIe/12VHPWR cable securely.
- Front-Panel & I/O: USB-C/USB-A, HD-Audio, front-panel headers (PWR/LED). Use manual diagram.
- Fans & Airflow: Front/bottom intake, top/rear exhaust. Ensure arrows face the correct direction.
- Final Cable Management: Bundle runs, avoid fan blades, and close up the panels.
Finally, connect to a monitor and keyboard/mouse, plug in power, and perform your first boot.
First Boot, BIOS Settings & Fan Curves
On the first boot, tap DEL/F2 to enter BIOS. Then:
- Enable XMP/EXPO: So RAM runs at rated speed.
- Set Boot Order: USB installer first, then your NVMe drive.
- Check Temps & Detection: CPU/GPU detected, SSD listed, idle temps sensible.
- Fan Curves: Create a gentle curve—quiet at idle, responsive under load.
Save and reboot to your installer drive.
Install Windows, Drivers & Utilities
- Install Windows 11 from USB; partition your NVMe as needed.
- Run chipset drivers (from motherboard vendor) and GPU drivers (from NVIDIA/AMD).
- Update LAN/Wi-Fi/Audio; then Windows Updates.
- Install utilities: fan control (vendor), RGB (only what you need), and a game launcher.
Afterwards, run a quick benchmark (e.g., 3DMark/Unigine or a game) to confirm expected performance.
Airflow, Thermal Paste & Maintenance Tips
Good airflow increases performance and longevity. Keep intakes as cool, filtered air; exhaust hot air up/top and out/rear. Replace thermal paste every few years (or if temps spike), and dust filters every few months. Additionally, keep firmware (BIOS) and drivers current.
Troubleshooting: No Boot, Beeps & Black Screens
- No Power: Reseat 24-pin and 8-pin CPU power; check PSU switch and wall outlet.
- No Display: Use the GPU’s video outputs; reseat GPU and power connectors; clear CMOS.
- Memory Errors: Try one stick in the recommended slot; re-enable XMP/EXPO later.
- High Temps: Re-seat cooler with fresh paste; verify fan orientation and curves.
- USB/Audio Issues: Install chipset/USB/audio drivers from the board vendor page.
Most first-build hiccups come down to cables not fully seated or RAM in the wrong slots—double-check the manual diagrams.
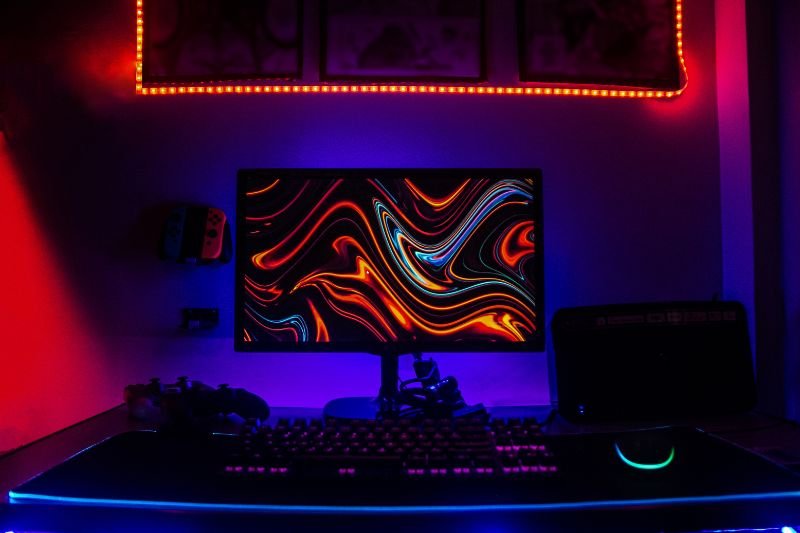
🖥️ Best Prebuilt Gaming PCs (UK)
Looking for a prebuilt gaming PC? Check out the best ready-made options we’ve picked for smooth 1080p and 1440p gaming, clean cable management, and easy upgrades — all tested with real-world games.
Keep Exploring
FAQs – How to Build a Gaming PC
Is it cheaper to build a gaming PC or buy prebuilt?
Often, building gives you better parts for the money and full control over quality. However, prebuilts can be competitive during sales and include warranties/support.
How long does a first build take?
Typically 2–4 hours if you follow the steps. Take your time; careful cable management and cooler mounting are worth it.
Do I need special tools?
No—just a good Phillips screwdriver, paste (if needed), and zip ties. An antistatic strap is helpful but not mandatory with basic ESD care.
How much wattage should my PSU have?
Estimate your system draw and add ~30–40% headroom. For mid-range GPUs, 650–750W is common; for high-end cards, 850–1000W+ is safer.
What’s the right way to apply thermal paste?
A pea-size dot (or thin line) in the centre is reliable for most desktop CPUs. Mount the cooler evenly and don’t overtighten.